You need administrator rights in Jira to perform the tasks on this page.
Once you have gone to the Custom fields page (see Configuring the Customer Portal custom field), click Edit Parameters to customize the various Customer Portal custom field settings:
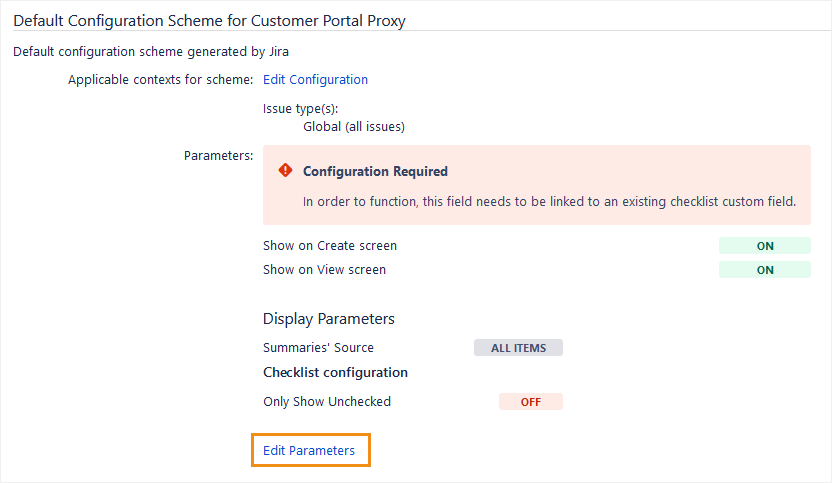
The following page will appear:
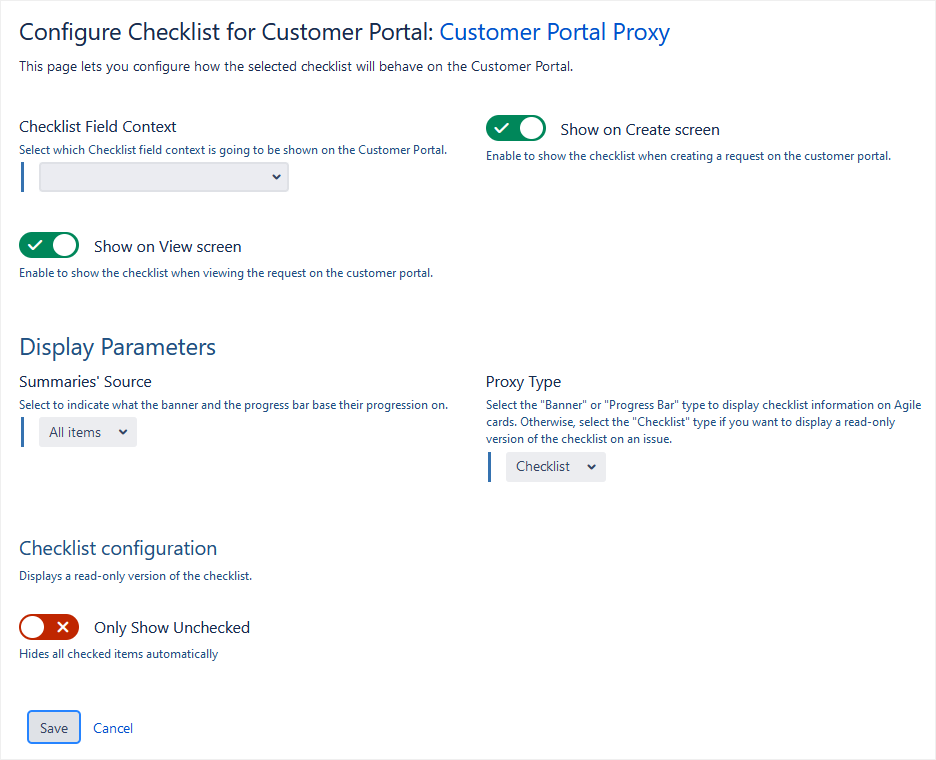
Parameters
These parameters control how the Customer Portal custom field will behave.
|
Parameter |
Description |
|---|---|
|
Checklist Field |
Select the Checklist custom field that you want shown on your customer portal. Choose a Checklist custom field that is applicable to the same context (projects and issue types) as the Customer Portal custom field. |
|
Show on Create screen |
When enabled, the checklist will be visible when users create requests on the customer portal. You can disable this feature to hide the checklist on the Create screen. This is useful if your goal is to show checklist progress only on the View screen. |
|
Show on View screen |
When enabled, the checklist will be visible when users view requests on the customer portal. You can disable this feature to hide the checklist on the View screen. This is useful if your goal is to show checklist progress only during creation. |
|
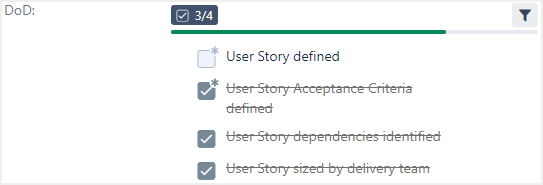
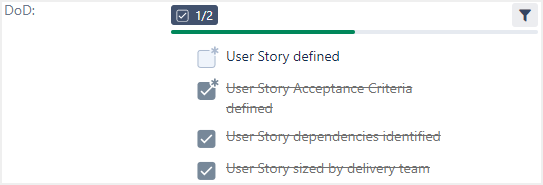
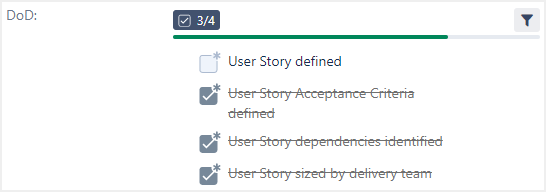
Summaries' Source |
Choose how the proxy’s banner and progress bar should calculate progression:
Changing this parameter changes how the checklist progression is calculated. It also changes how the checklist determines what Custom Banner Labels to display. |
|
Proxy Type |
Choose the look and feel of the proxy on the Customer Portal:
When creating requests, the proxy is always displayed as an editable checklist (but a permission scheme may prevent editing). Once the request is created, the proxy appears on the Customer Portal, where it is read only and its look and feel is controlled by this parameter. |
|
Checklist configuration |
|
|
Only Show Unchecked |
When enabled, hides checked items automatically. You can disable this feature to always show all checklist items. |
|
Banner configuration |
|
|
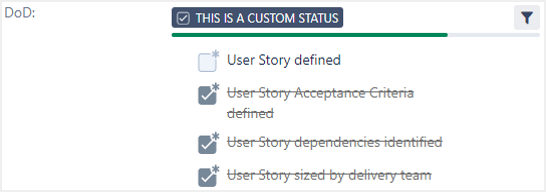
Banner Appearance |
Choose a color scheme for the banner:
|
|
Banner Prefix |
Choose a banner prefix that will appear on the left side of the banner:
|
|
Banner Type |
The type of banner that will be displayed:
|
|
Banner labels |
|
|
Completed |
Displays the entered custom status when the entire checklist is complete. |
|
Incomplete |
Displays the entered custom status when the checklist is partially complete. |
|
All mandatory |
Displays the entered custom status when all mandatory items in the checklist are complete. |
|
Empty |
Displays the entered custom status when the checklist contains no items. |
|
Progress bar configuration |
|
|
Label type |
The type of label displayed on the progress bar.
|