Due dates are only available for accounts using a paid plan of Checklist for monday.
This feature requires that the Due dates setting be enabled.
You can add a due date and time to a checklist item, which will be displayed in the user’s time zone.
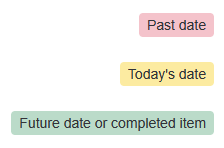
The due date will appear on the right side of the item row, in one of the following colors:
To add a due date:
-
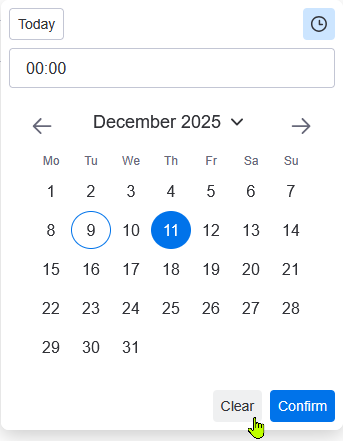
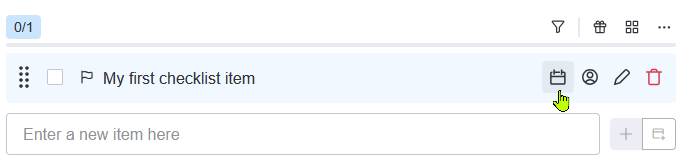
Press the calendar button in the checklist item row. This will open a calendar pop-up.
-
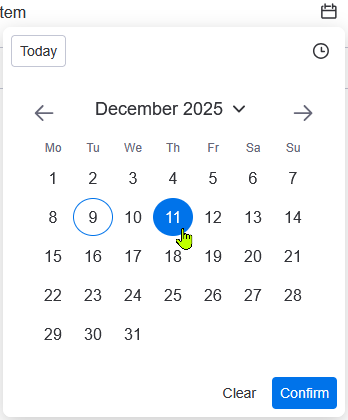
In the pop-up, select the date you want to set by clicking on it. You can navigate to other months with the navigation arrows and years with the year dropdown.
-
Optionally, you can enable time entry to set a specific time at which the item would be due. To add time:
-
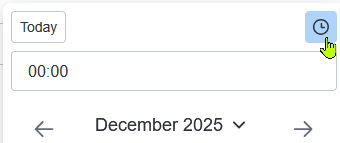
In the top right of the pop-up, press the clock button. A time entry field will appear.
-
Click on the time field and select any predefined time, or enter the time of your choice.

-
-
Press Confirm to set the date.
You can double-click a date to quickly set it!
To clear the due date:
-
Press the calendar button in the checklist item row. This will open a calendar pop-up.
-
Press Clear at the bottom to clear the date.