
Template sets are only available for accounts using a paid plan of Checklist for monday.
Constantly recreating the same checklist in similar tasks? You can turn it into a template and add it to new checklists.
Creating a template
There are two ways of creating a template: from an existing checklist, or in App Settings.
You must have administrator rights to use App Settings.
Creating a template from an existing checklist
If you have an existing checklist in a board item that you want to copy, you can turn it into a template.
Templates created using this method go into the currently chosen template set.
To create a template from an existing checklist:
-
Open the checklist that you want to create the template from.
-
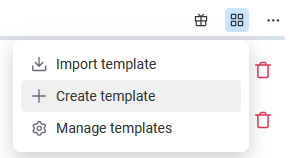
Select the Templates icon. In the dropdown menu, select Create template.
-
In the Create template window, enter a name and an optional description. You can add or remove items to the template.
If you add an item to the template, it will not be automatically added to the original checklist.
-
Select Create.
Importing a template into a checklist
You can use an existing template by importing it into a checklist.
-
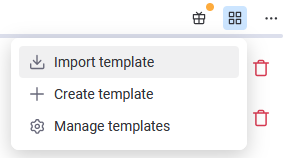
Select the Templates icon and select Import template.
-
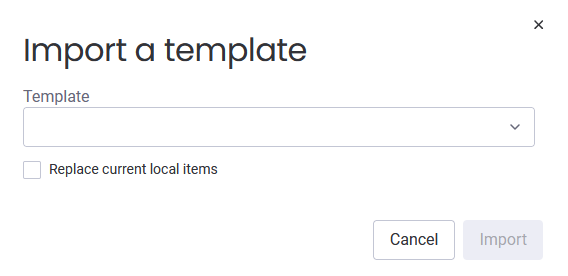
In the Import a template window, select a template from the dropdown. If you have existing checklist items and you want to add the template’s items, don’t check the Replace current local items box. If you want to replace the existing items with the template’s items, check the box.
-
Click Import.
If you try to add a template to a checklist, and the total number of items exceeds your plan’s limits, no items from the template will be added.
For example, if you try to add a template containing 10 items to a checklist containing six items, and you don’t check the Replace current local items box, the total number of items would be 16, which exceeds the free plan limit of 15 items. The six items in the checklist won’t be affected, but none of the template items will be added.
Choosing a template set for a checklist view
You can use a template set by choosing it in a checklist view.
To create a template set, see Managing templates and template sets. You must have administrator rights to use App Settings.
To choose the template set for a checklist view:
-
Open the checklist view for any item in the board.
-
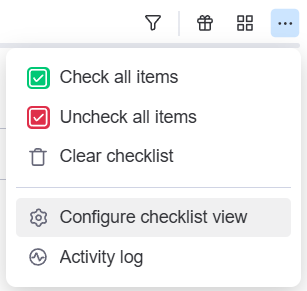
In the dropdown menu, click Configure checklist view.
-
In the Configure checklist view window, choose a template set from the dropdown menu.
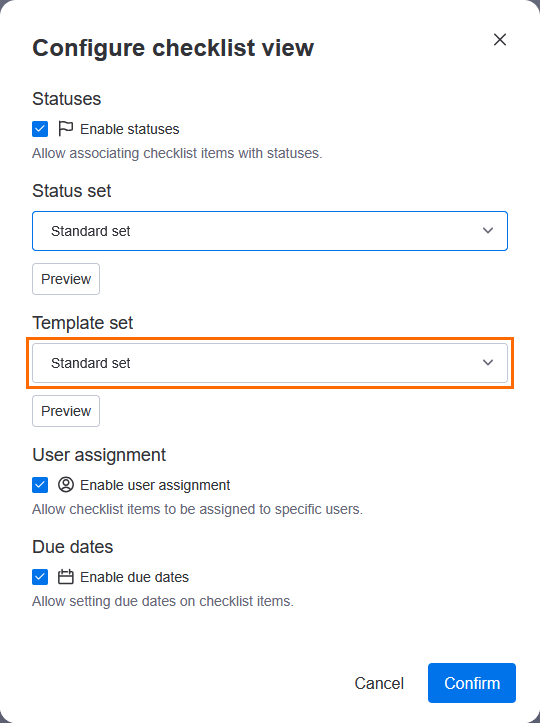
The chosen set’s description and template count will be displayed when clicking on Preview.

-
Select Confirm.
The template set will be changed for the same checklist view in all items on the board.
Using the Manage templates window
You can use the Manage templates window in the checklist tab to edit templates belonging to the current checklist view’s template set.
To use the Manage templates window:
-
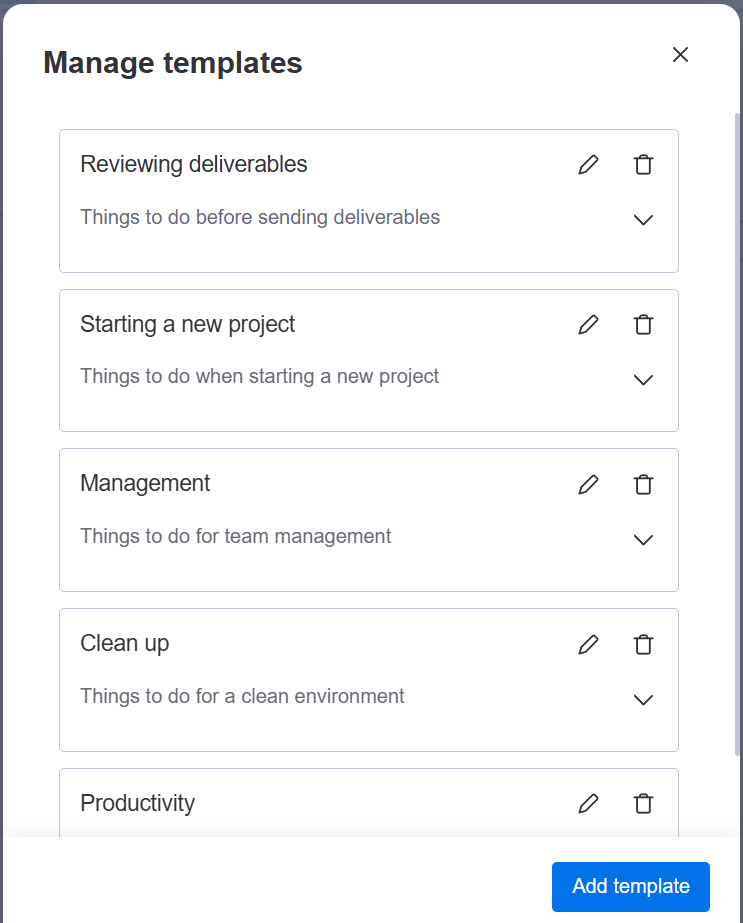
Select the Templates button and select Manage templates.

-
In the Manage templates window, you can do the following in the currently chosen template set:
-
Select the Edit button to edit the chosen template’s name, description, and/or items
-
Select the Remove button to delete the chosen template
-
Click the caret to view the items in the template
-
Select Add template to add a template
-