In App Settings, you can create, edit, and delete templates and template sets.
To manage template and template sets in App Settings:
-
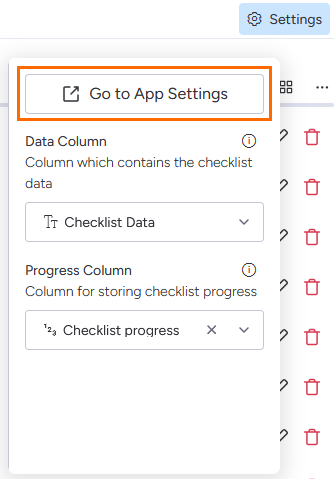
In any checklist view, select Settings, then Go to App Settings.
-
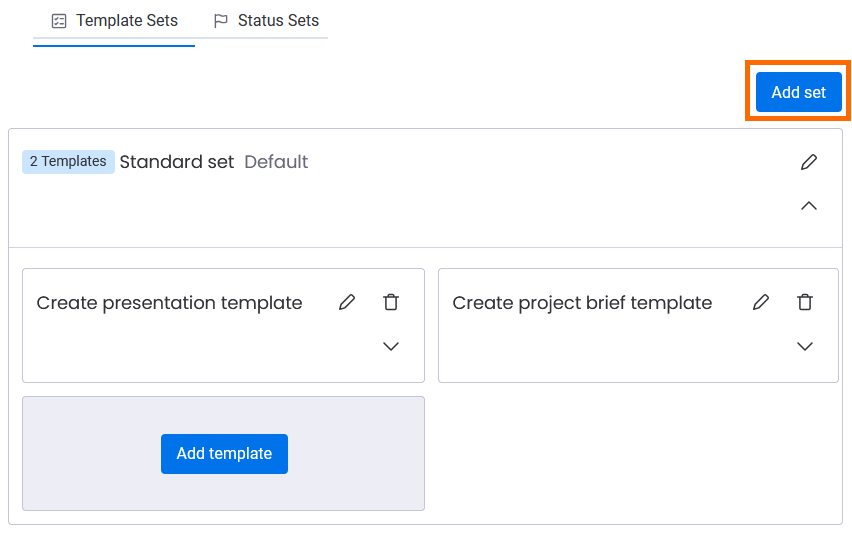
In App Settings, select the Template Sets tab.

Creating a template set
A template set is a group of templates. When chosen in a checklist view, it appears for the same view in all board items.
To create a template set
-
Select Add set.
-
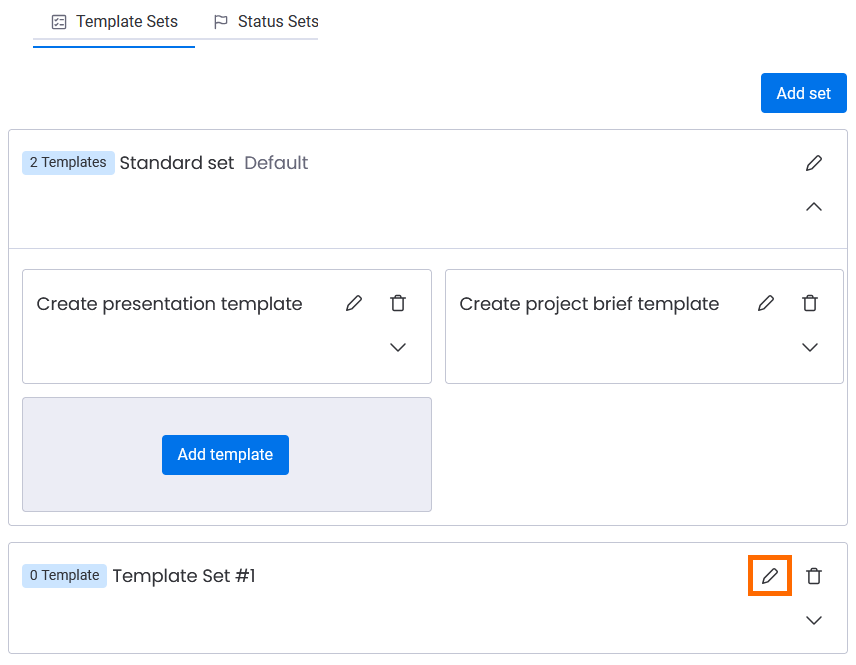
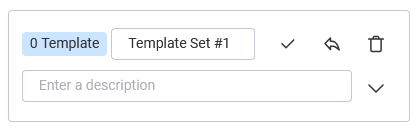
A template set will appear. Click the Edit button to change its properties.
-
Edit the name and description fields. The description is optional.
-
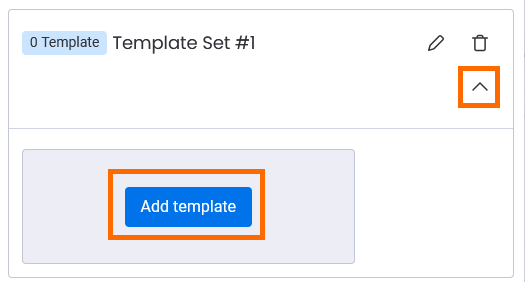
Click the caret to add templates to the set.
Editing a template set
Need to rename a template set or change its description? You can do that easily in App Settings.
To edit a template set:
-
Select the Edit button in the template set you want to edit.

-
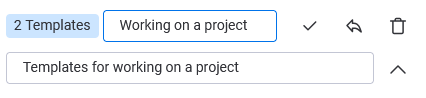
Edit the name and/or description.
-
Select the Confirm button to save your changes or the Cancel button to discard them. You can also click the Remove button to delete the template set.
Deleting a template set
If you don’t need a template set anymore, you can delete it.
The default set can’t be deleted.
Once you delete a template set, it can’t be restored.
-
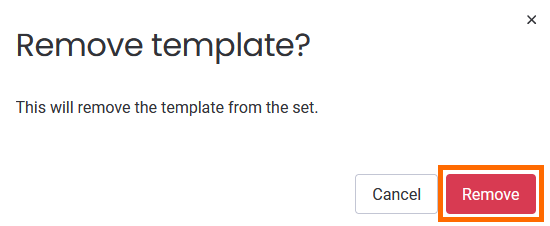
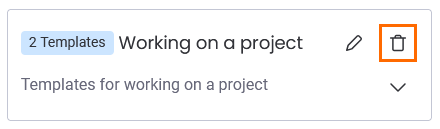
Click the Remove button in the top right corner of the template you want to delete.
-
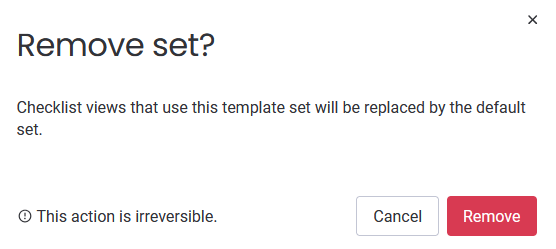
When you're prompted for confirmation, select Remove.
Creating a template
You can use App Settings to add a template to a template set.
To create a template:
-
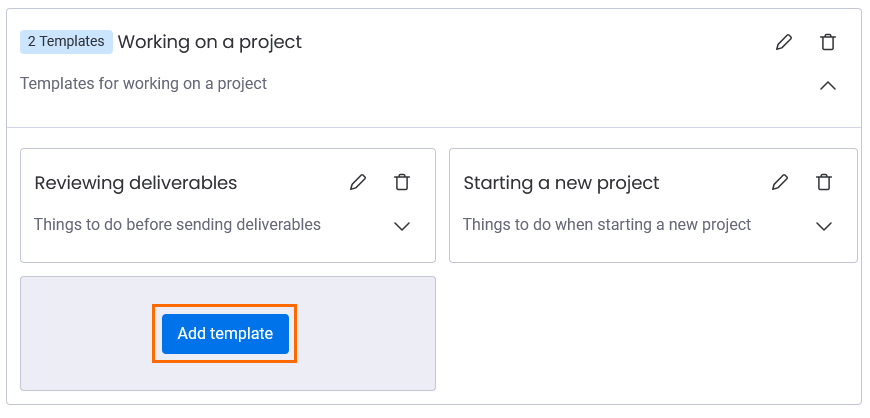
Select Add template in the template set that you want to add to.
-
In the Add template window, enter the following:
-
Name: Enter a name for the template.
-
Description: Enter an optional description.
-
Enter a new item here: Enter at least one template item. You can enter up to 15 template items on the free plan, or an unlimited amount on the pro plan. See Plans for details.
-
To add a section to your template, see https://okapya.atlassian.net/wiki/spaces/CFMD/pages/3264774265/Add+items+and+sections+to+your+checklist#Adding-sections.
-
Click Add.
Editing a template
You can rename a template, or add or remove items to suit your needs.
To edit a template:
-
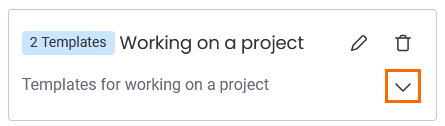
Click the caret in the template set that the template is in.
-
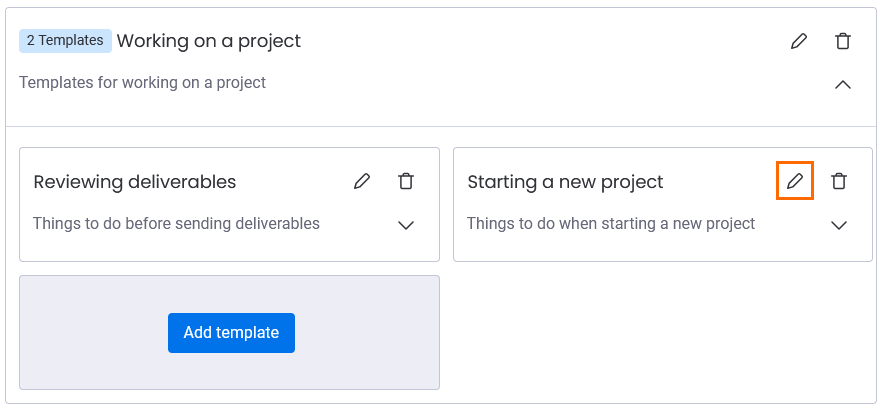
Select the Edit button in the template.
-
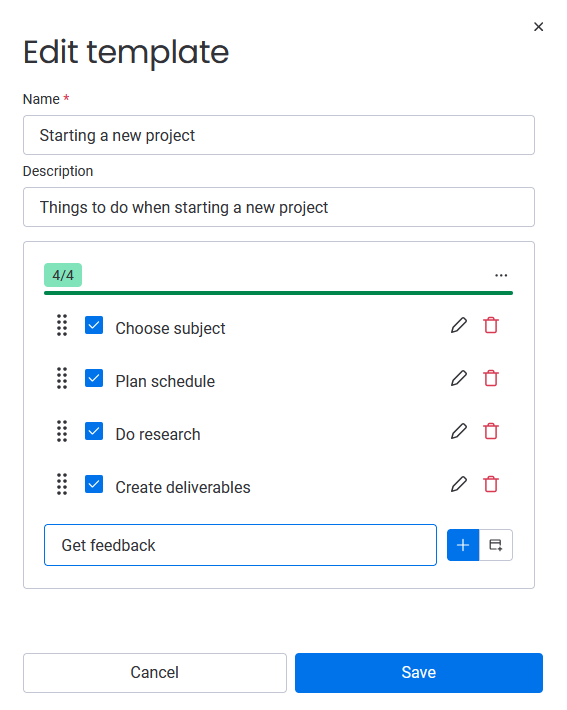
In the Edit template window, you can do the following:
-
Edit the name
-
Edit or delete the description
-
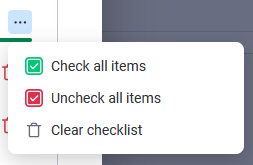
Click the dropdown menu to check or uncheck all items, or delete all items
-
Click and drag the handle (on the left) to reorder the items
-
Check an item’s box
-
Select the Edit button to edit an item’s name
-
Select the Remove button to delete an item
-
Select the Add item button to add an item
-
Select the Add section button to add a new section (see https://okapya.atlassian.net/wiki/spaces/CFMD/pages/3264774265/Adding+items+and+sections+to+your+checklist#Adding-sections)
-
Deleting a template
If you don’t need a template anymore, you can delete it.
-
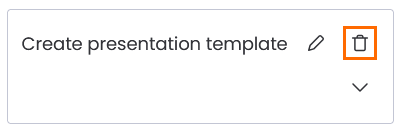
Click the Remove button in the top right corner of the template you want to delete.
-
When you're prompted for confirmation, select Remove.