In App Settings, you can create, edit, and delete status sets.
To manage status sets in App Settings:
-
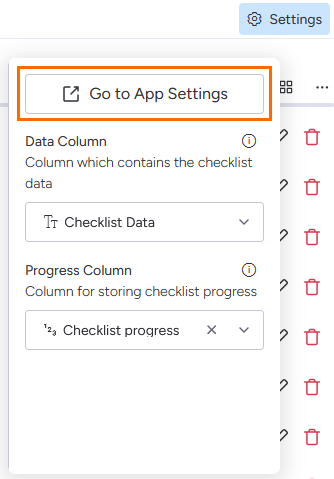
In any checklist view, select Settings, then Go to App Settings.
-
In App Settings, select the Status Sets tab.

Creating a status set
In addition to the default Standard set, you can create additional sets, up to 100 total.
To create a new status set:
-
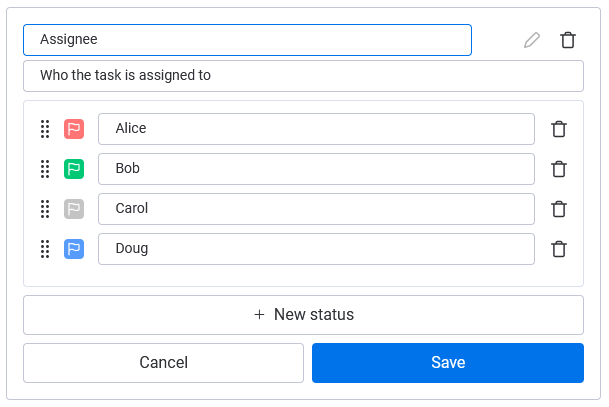
Click Add set. In the window that appears, complete the following fields:
-
Enter a status set name: Enter a name for the set. It must be different from existing status sets.
-
Enter a description (optional): Enter a description for the set.
-
Enter a status name: Enter a name for the status. The set must contain at least one status, up to a maximum of 20. To add a status, click + New status. To remove a status, click the Remove button.

-
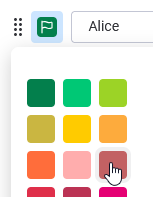
To change the status' colour, click the flag icon and select a colour from the window that appears.
-
-
The statuses will appear in the order they were added. To reorder the statuses, see https://okapya.atlassian.net/wiki/spaces/CFMD/pages/4038328440/Managing+status+sets#Editing-a-status-set.
Editing a status set
Sometimes you might want to edit a status set’s properties, or add or remove statuses to fit your needs.
To edit an existing status set:
-
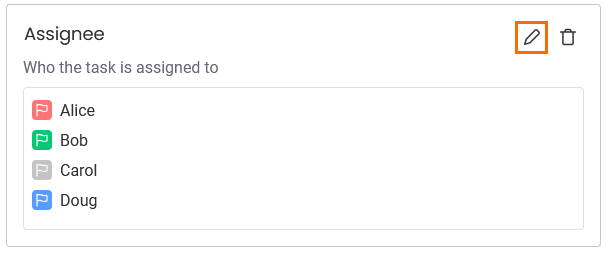
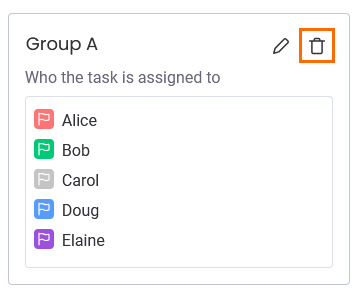
Click the Edit button in the set’s window.
-
In the editing window, you can do the following:
-
Click the Remove button in the top right to delete the whole set
-
Edit the set name
-
Edit or delete the set description
-
Click and drag the handle (on the left) to reorder the statuses
-
Click a flag to change its colour
-
Edit the status names
-
Click the Remove button next to a status to delete it
-
-
Click Save.
Deleting a status set
If you don’t need a status set anymore, you can delete it.
The default set can’t be deleted.
Once you delete a status set, it can’t be restored.
To delete a status set:
-
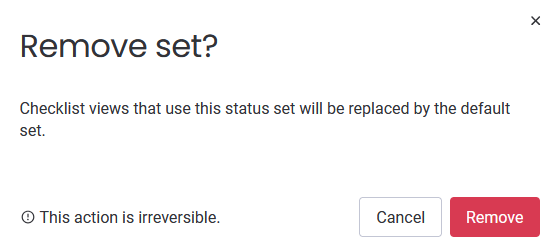
Select the Remove button in the status set.
-
When you're prompted for confirmation, select Remove.